Please read previous posts if you want to know about Setup Development Environment
In this post we will understand the SPFx project structure by creating a First SPFx client web part. We will use Node.js command prompt to create the web part project structure.
1. Open Node.js command prompt as administrator
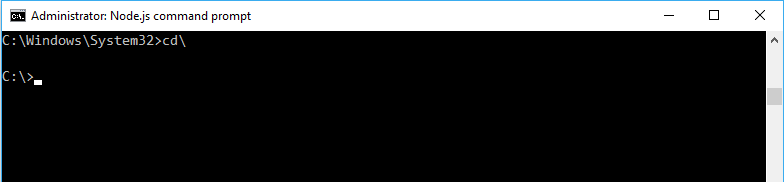
2. Create a directory
Create the directory where you would like to add new solution using the following command:
md FirstCSWP
Move to the newly created working directory using the command:
cd FirstCSWP

Note: I have used “FirstCSWP” as my solution directory.
3. Use Yeoman SharePoint Generator to create the client side web part as below:
yo @microsoft/sharepoint
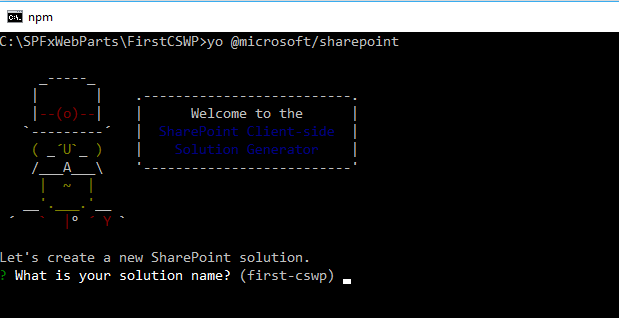
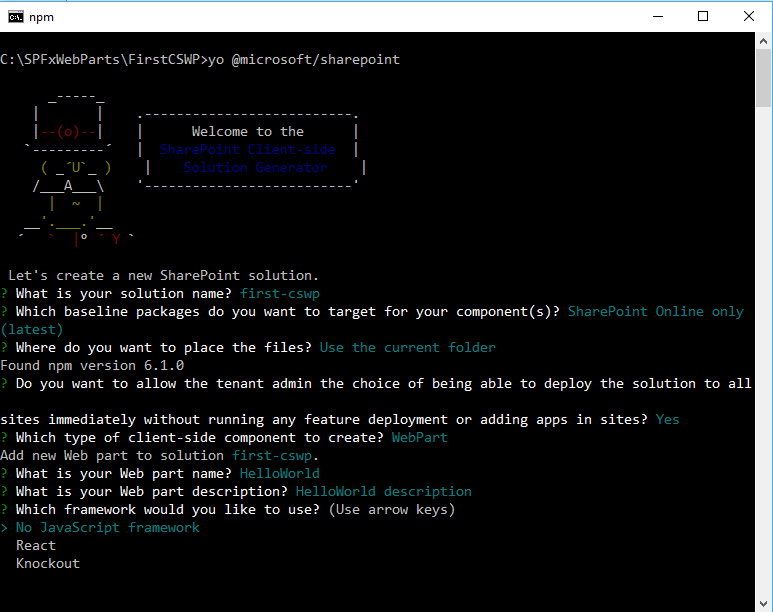
Fill up the information to proceed with project creation,
- What is your solution name? : Accept the default and press Enter.
- ? Which baseline packages do you want to target for your component(s)? (Use arrow keys)
> SharePoint Online only (latest) – Select the default and press Enter
SharePoint 2016 onwards, including SharePoint Online
- Where do you want to place your files : Use Current Folder
- ? Do you want to allow the tenant admin the choice of being able to deploy the solution to all sites immediately without running any feature deployment or adding apps in sites? (y/N) – Select as per your requirement.
- ? Which type of client-side component to create? (Use arrow keys)
> WebPart – For this post – Select WebPart
Extension
- ? What is your Web part name? (HelloWorld) – Will go with default one
- ? What is your Web part description? (HelloWorld description) – Will go with default one
- ? Which framework would you like to use? (Use arrow keys)
> No JavaScript framework – For this post select default one
React
Knockout
Command prompt screen will look like this:
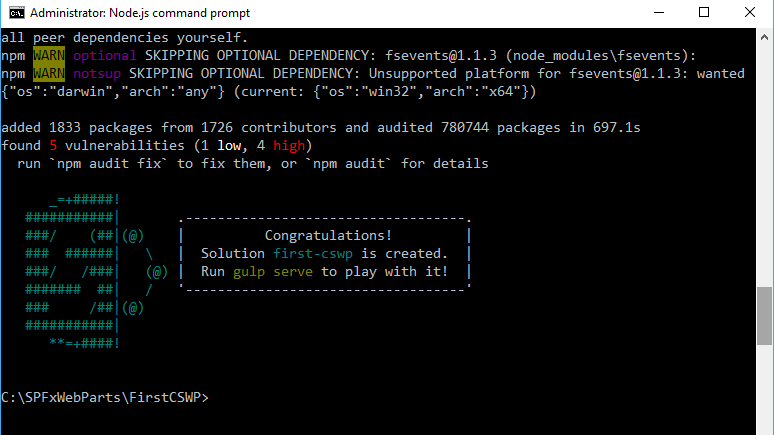
Yeoman will start scaffolding of the project and install required dependencies. After few minutes scaffolding will be done and will get a Congratulations message as below:
4. How to test the web part
By default, SPFx development uses HTTPS endpoint.
To test the CSWP locally, we have to install a developer certificate that comes with SPFx tool chain.
Note: A default certificate is not configured for the local development environment so web part will report a certificate error.
Run following command from the current web part directory
gulp trust-dev-cert

Preview the Web Part:
Run the gulp serve command.
This command will execute a series of gulp tasks.
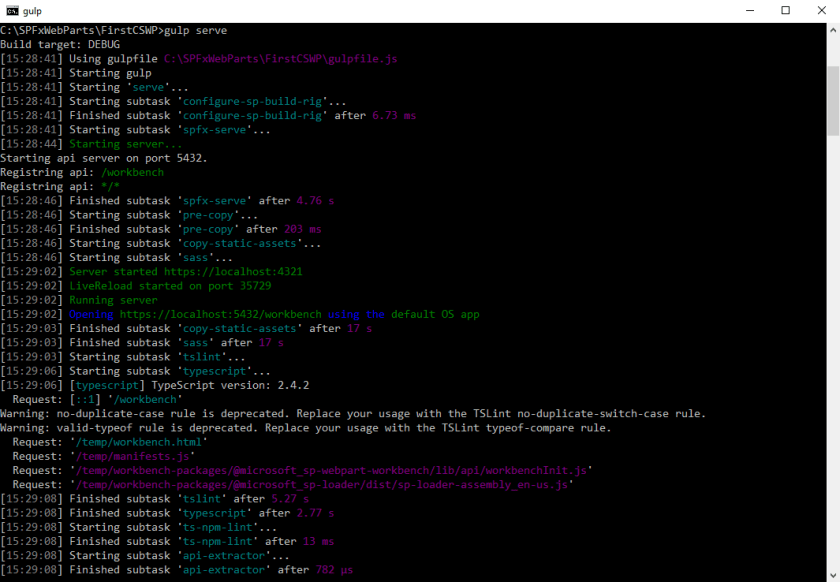
SharePoint Workbench
And will create a Node-based HTTPS server at ‘localhost:4321‘ and open the browser and display the client web part in local workbench.
SharePoint Workbench is a developer design surface that enables developer to test the developed client web parts without deploying them directly to SharePoint. It provides a client-side page to which we can add the created web parts.
The SharePoint Workbench has opened up in the browser but there are no visible web parts. Click on the Plus sign.

This will give user the option to add the client side web part (HelloWorld) that we have created recently.
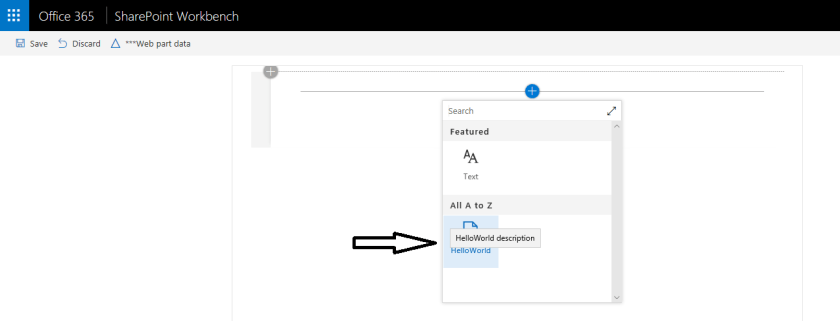 Click on the web part and that will be added to the page.
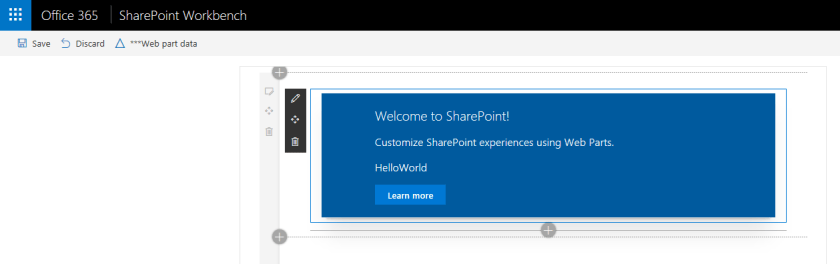
The web part contains default custom message as below:
Edit the Web Part
You can edit the web parts description property directly from the same screen where you have added web part. But that will remain temporary as we are testing the web part in local workbench.
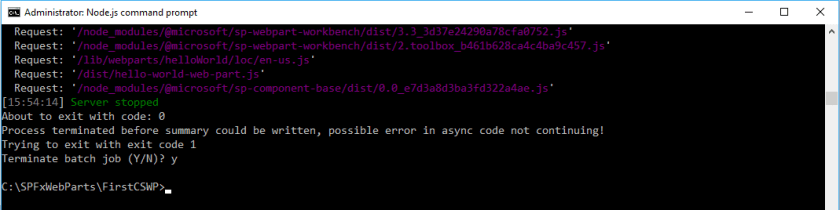
If you want to change the description (or want to add other fields) you will have to go back to the Node.JS command prompt and terminate the gulp serve command.
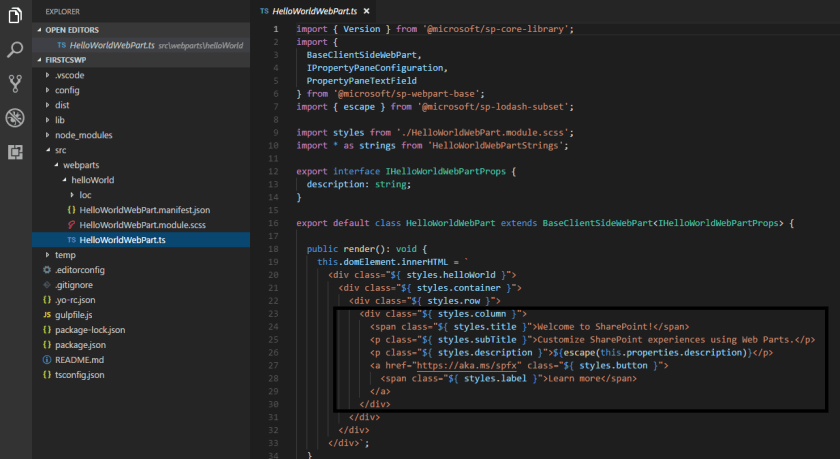
To open the solution in Visual Studio code, type code . command as below:

This will open the web part solution in Visual Studio code.

Navigate to ‘src\webparts\helloWorld’ location.
The logic resides within the HelloWorldWebPart.ts file
Update the description as you want. Save updated code. Run gulp serve command again and add web part from local workbench. Verify your changes.

In next post I will share details on SharePoint Framework Project structure.

3 comments