Please read previous posts if you want to know about CSWP build flow
I will explain how to set up the environment for getting started with development using SharePoint Framework. There are prerequisites components that we will have to install:
- Node JS
- Yeoman and Gulp
- Yeoman SharePoint Generator
- Code Editor(Visual Studio Code/Webstorm)
Install Node JS
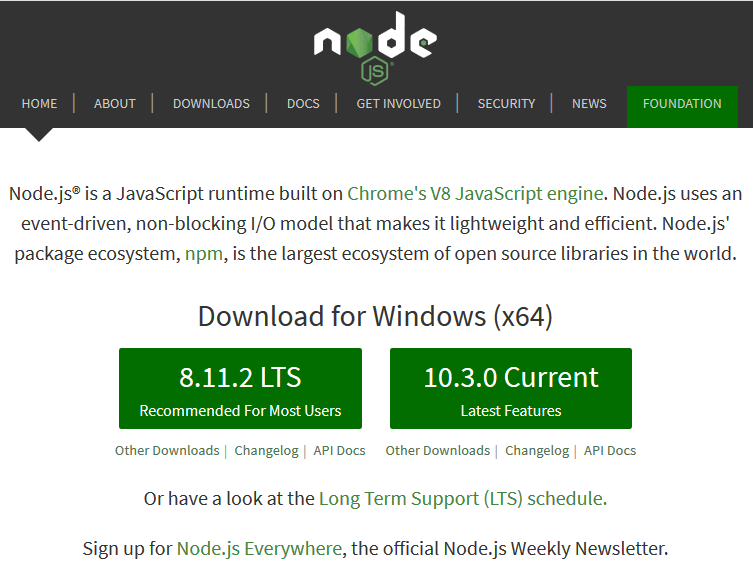
The Node.js ecosystem is tightly coupled with NPM and task runners (such as gulp) to provide an efficient environment for building JavaScript-based applications. It uses an event-driven, non-blocking I/O model that makes it lightweight and efficient.
This is an open source, cross-platform runtime environment for hosting and serving JavaScript code.
Install the recommended for most users Node JS from here.
Note: I would prefer to go with stable version of Node JS (i.e. 8.11.2 LTS)
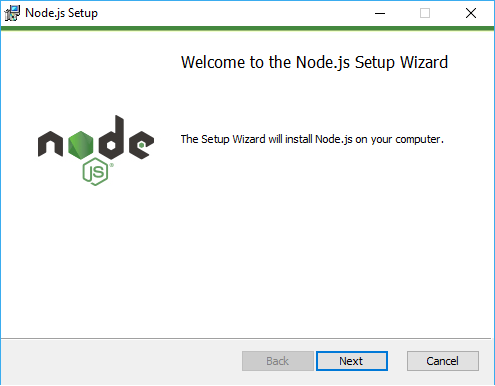
Run the downloaded LTS version executable file and proceed.
Accept the license agreement and click on Next.

Select Node.js run time installation and click Next.

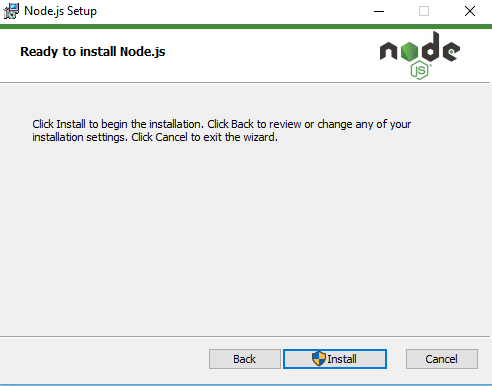
Click on Install to start the installation procedure.
We are done installing NodeJS.

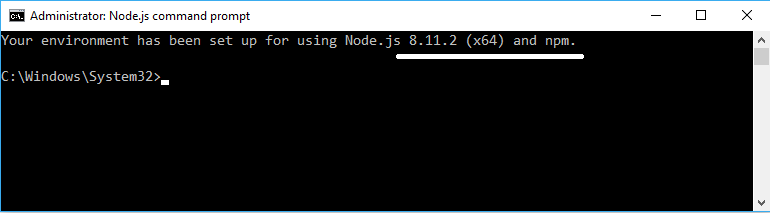
To verify Node JS has been installed or not, run the NodeJS command prompt and we will get the following screen. It also displays the version on Node.JS
If you want to check the version for NPM (Node Package Manager) – use npm –v as below.
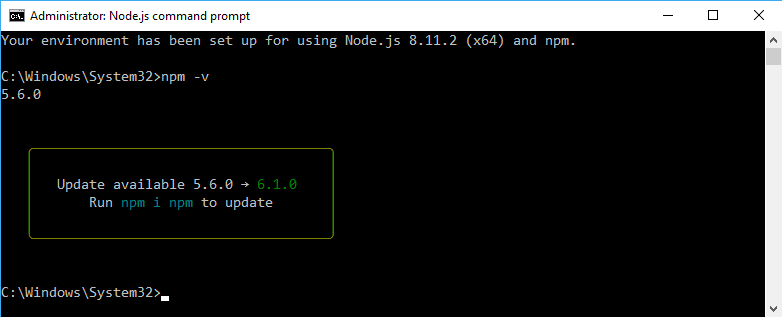
Note: If you receive a message to update npm version, just run “npm i npm” command to update as mentioned in above screen and again check installed npm version using “npm -v” command.
Install Yeomen and Gulp
- Yeoman provides you project templates to start with your development
- It helps you kick-start new projects, and prescribes best practices and tools to help you stay productive. SharePoint client-side development tools include a Yeoman generator for creating new web parts. The generator provides common build tools, common boilerplate code, and a common playground web site to host web parts for testing.
- Gulp works as the task manager in your SharePoint Framework solution
- Enter the following command to install Yeoman and gulp:
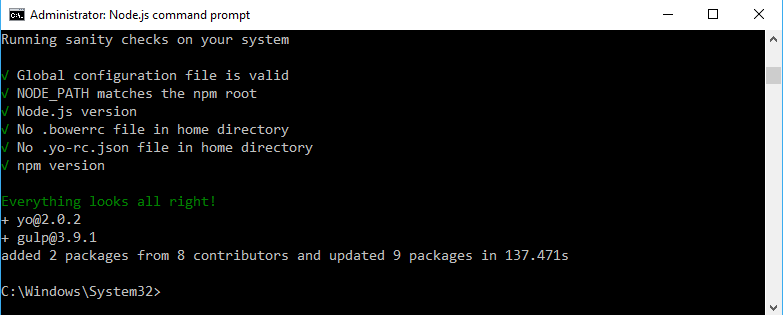
npm i -g yo gulp OR npm install –g yo gulp

Once the installation is completed. You can see the versions of Yeoman and Gulp:
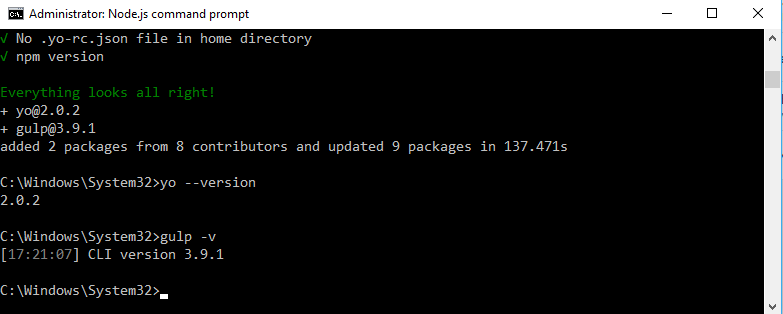
You can also verify Yeoman and Gulp versions using below commands:
Yeoman: yo –version
Gulp: gulp –v
Install Yeoman SharePoint Generator
- The Yeoman SharePoint Framework solution generator helps you quickly create a SharePoint client-side solution project with the right tool chain and project structure.
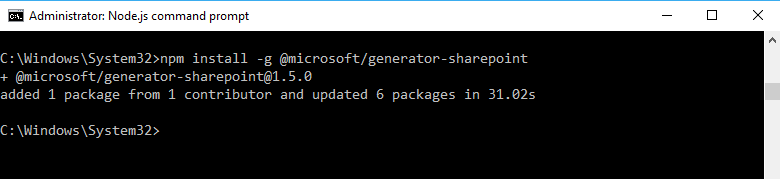
Use following command to install Yeoman SharePoint Generator and you can see the installed version as well
npm install -g @microsoft/generator-sharepoint
Install Code Editor
- You can use any code editor or IDE that supports client-side development to build our web part, like:
- Visual Studio Code
- Atom
- Webstorm
For this post, I will use Visual Studio Code. You can download VS Code from here.
Here we are done with setting up a development environment for SPFx. Visit How to create client web part using SharePoint Framework to understand web part development steps.

3 comments