During the workshops I have organized and receiving a common question from SPFx developers on “How to add a new web part to a SPFx solution/project?”
In this post I will explain how to add a second web part to your SPFx project. Generally, when we are generating a new SharePoint Framework project using the SharePoint Yeoman generator a new web part is automatically added. But what if you wanted to add another one?
SharePoint Framework ships with a Yeoman generator that takes care of scaffolding SharePoint Framework project.
By running the generator and answering a few questions on the command prompt, the generator creates a new project for you with one Web Part built using React, Knockout or no framework at all.
Using the generator is a great and easy way to create a new project until you will want to add a new Web Part.
You have to call the SharePoint Yeoman generator on your existing SharePoint Framework project in order to add a new Web Part to your existing SharePoint Framework project.
Note: For this post, I am adding second web part in “SPFxSolution” directory where my first web part (“WebPartOne”) is already created.
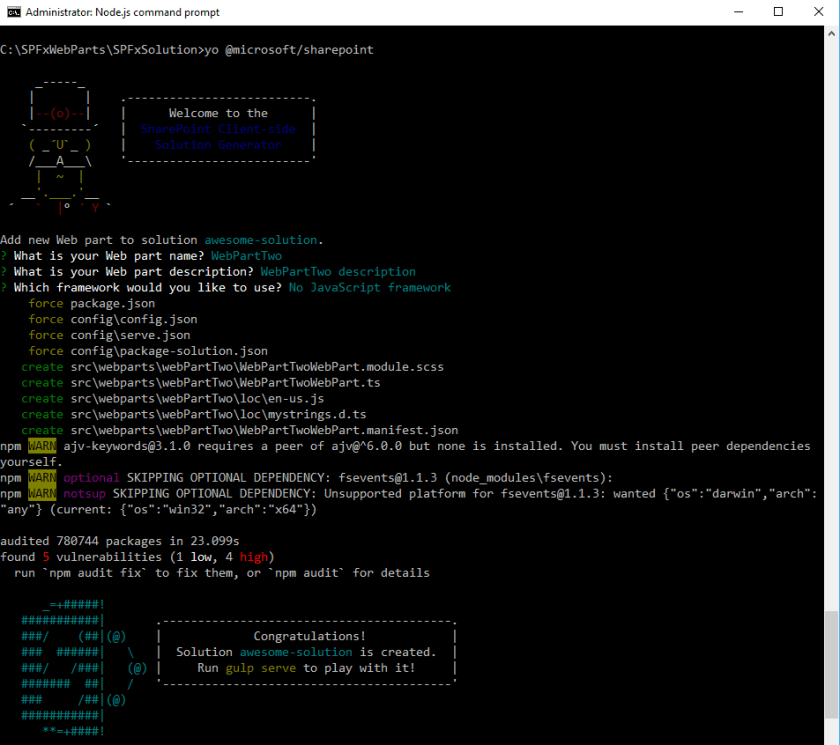
The Yeoman generator will identify that it is running on an existing project and instead of scaffolding the whole project it will skip directly to adding a new Web Part.
After answering the standard questions about the Web Part’s title, description and framework, the SharePoint Framework Yeoman generator will add the new Web Part to the project and will register it with the project’s configuration so that the Web Part is built into a new bundle.
Open the solution in VS Code using code . command.
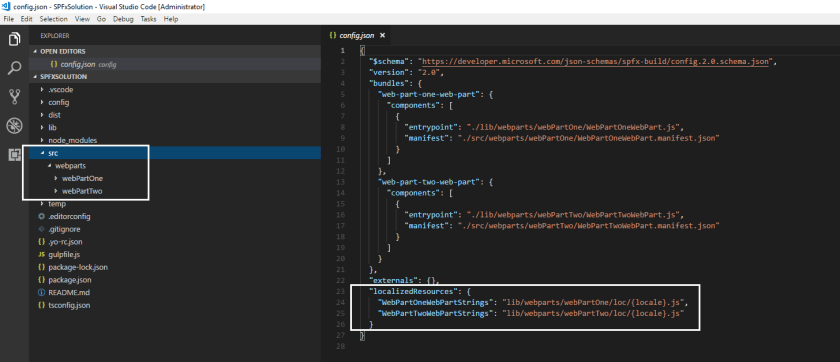
You can see two different web parts in the solution along with localized resources information.
Update the text if you want – just to verify when both web parts render on page.
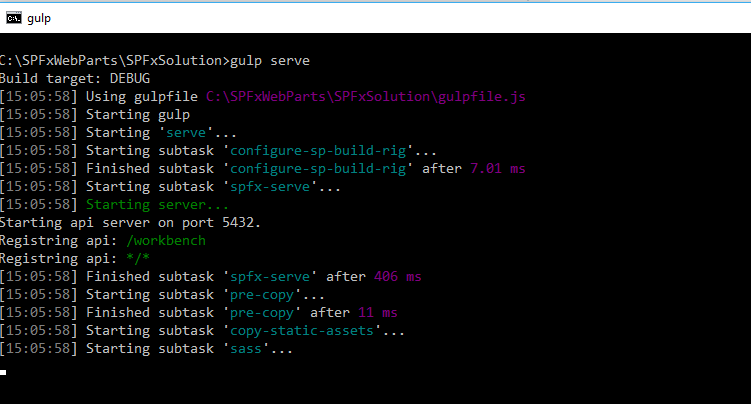
Run gulp serve command to add/open both the Web Parts in local workbench.
You can see two Web Parts (I have used different icons for both web parts)
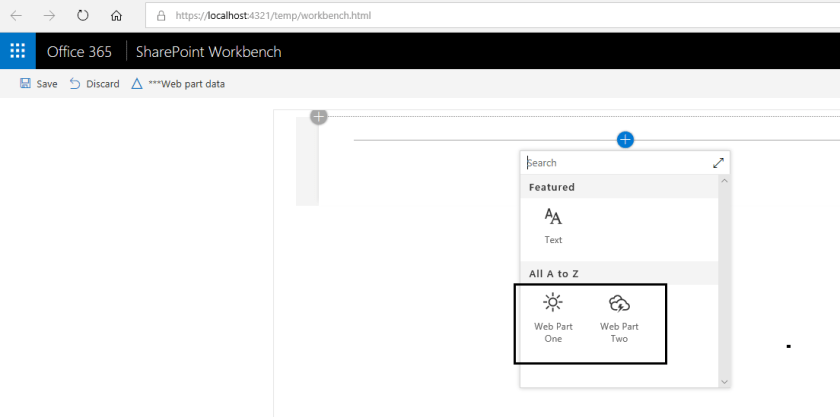
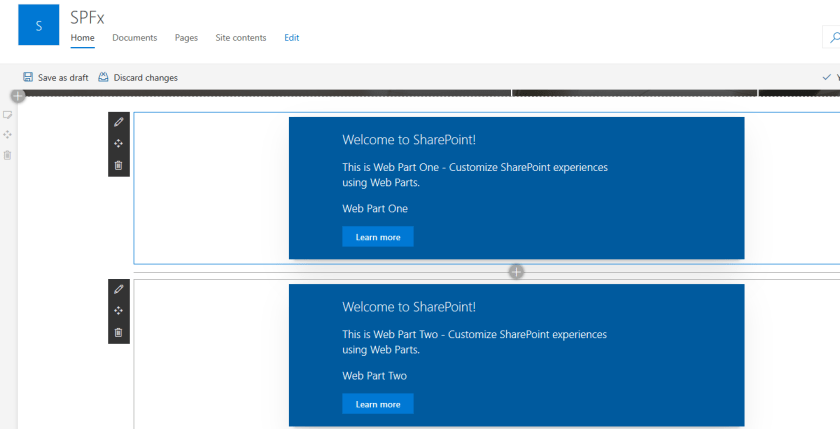
Add both the Web Parts

You can see different content for both the Web Parts.
Deployment Commands:
Stop the gulp serve command execution and run gulp bundle –ship command

This command will help us to bundle all the typescript files and it’s dependencies from node_modules into a single JavaScript compiled file.
Initially, the compiled typescript files are converted into JavaScript files and saved in lib folder and then from there the final bundle file will be saved in a folder called temp/deploy.
Now execute gulp package-solution –ship
This command will help us build the installation file with an extension .sppkg file.
Once you run this command .sppkg file will be created in the SharePoint folder under the project directory and the bundle file which has been generated after executing the command
Deployment:
To deploy the SPFx Web Parts upload the package file (.sppkg file) in App Catalog.
When you upload it to the App Catalog, you will be prompted with below popup,

Make sure to check “Make this solution available to all sites in the organization” checkbox. Click on Deploy
Add Web Parts on Page:
Now go ahead and create a modern page (or use existing page) from Site Contents and you will a get a screen like below. Click the plus icon at the center to list down the available apps that can be added to the page, where you can find your Web Part as well.
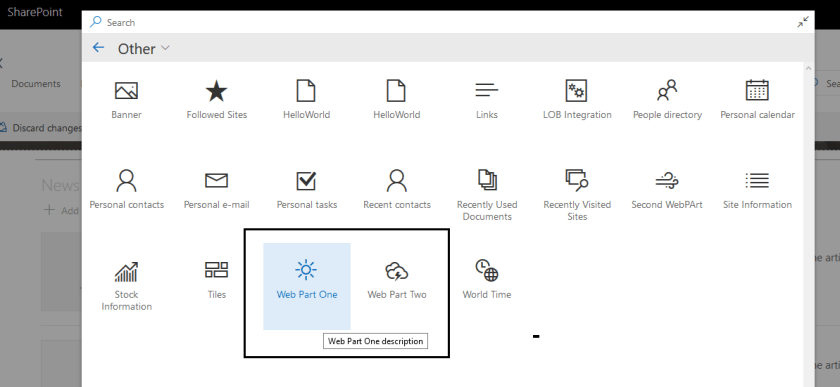
Add both the Web Parts
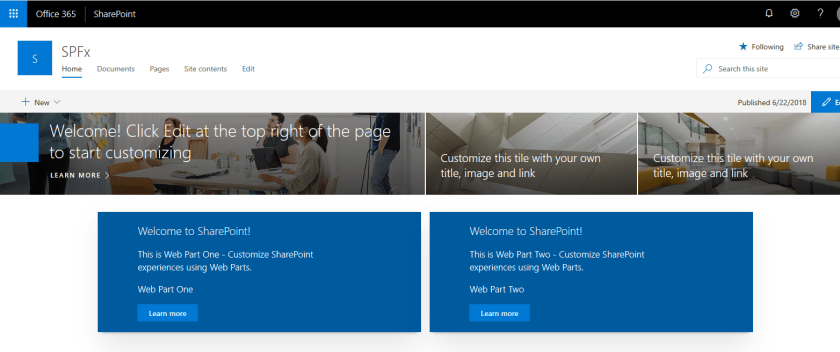
Publish the page – update the layout if required. Both Web Part will render like :
Conclusion:
When generating SharePoint Framework projects using the SharePoint Framework Yeoman generator, it automatically adds one Web Part to the project. You can easily add a new Web Part by re-running the generator on the existing project.
